Catches when Expecting Exceptions in Django Unit Tests

To cover all bases when writing a suite of unit tests, you need to test for the exceptional cases. However, handling exceptions can break the usual flow of the test case and confuse Django.

Example scenario: unique_together

For example, we have an ecommerce site with many products serving multiple countries, which may have different national languages. Our products may have a description written in different languages, but only one description per (product, language) pair.

We can set up a unique_together constraint to enforce that unique pairing:

class Description(models.Model):
    product = models.ForeignKey("Product")
    language = models.ForeignKey("countries.Language")

    class Meta:
        unique_together = ("product", "language")

    subtitle = models.CharField(...)
    body = models.CharField(...)
    ...

Developer chooses AssertRaises()

If the unique_together rule is violated, Django will raise an IntegrityError. A unit test can verify that this occurs using assertRaises() on a lambda function:

def test_unique_product_description(self):
   desc1 = DescriptionFactory(self.prod1, self.lang1)
   self.assertRaises(IntegrityError, lambda:
      desc2 = DescriptionFactory(self.prod1, self.lang1)

The assertion passes, but the test will fail with a new exception.

A wild TransactionManagementError appears!

Raising the exception when creating a new object will break the current database transaction, causing further queries to be invalid. The next code that accesses the DB - probably the test teardown - will cause a TransactionManagementError to be thrown:

Traceback (most recent call last):
File ".../test_....py", line 29, in tearDown
   ...
File ...
   ...
File ".../django/db/backends/__init.py, line 386, in validate_no_broken_transaction
An error occurred in the current transaction.
TransactionManagementError: An error occurred in the current transaction.
You can't execute queries until the end of the 'atomic' block.

Developer used transaction.atomic. It's super effective!

Wrapping the test (or just the assertion) in its own transaction will prevent the TransactionManagementError from occurring, as only the inner transaction will be affected by the IntegrityError:

def test_unique_product_description(self):
   desc1 = DescriptionFactory(self.prod1, self.lang1)
   with transaction.atomic():
       self.assertRaises(IntegrityError, lambda:
          desc2 = DescriptionFactory(self.prod1, self.lang1)

You don't have to catch 'em all: Another solution

Another way to fix this issue is to subclass your test from TransactionTestCase instead of the usual TestCase. Despite the name, TransactionTestCase doesn't use DB transactions to reset between tests; instead it truncates the tables. This may make the test slower for some cases, but will be more convenient if you are dealing with many IntegrityErrors in the one test. See the Django Documentation for more details on the difference between the two classes.

Webpack Your Things

We very recently finished migrating our front-end build process to Webpack. As with any reasonably sized codebase, it's always a little more complex than the 3 line examples in how-to guides. This post will list some of the higher-level things I learned during this undertaking, the next one in the Webpack Series will detail some specific quirks and solutions.

Resources

I was largely able to do this by leveraging the hard work of some clever heroes. This very conveniently timed blog post covered a lot of what was needed. JLongster also has some very good tips, helpful for more than just backend apps. Regarding documentation, the widely-cited Webpack How-to gives a pretty concise overview of most things you will need. And of course, the docs have a lot of information. Sometimes too much. But usually most things you need are listed there. Occasionally something isn't, which brings me to lesson one.

Lesson 1: cd node_modules

One of the biggest things I learned in this undertaking isn't limited just to Webpack, and helped fix a few other things. Previously I had treated the node_modules folder as a black box - just npm install and be on my way. This is fine for everyday usage, but when you hit barriers or bugs sometimes you need to do some digging. Rather than throwing random inputs at a black box to measure the effect, you can just crack it open.

A good example of this is the CommonsChunkPlugin, which is documented thusly:

If omitted and options.async or options.children is set all chunks are used, elsewise options.filename is used as chunk name
— chunk.name definition

I found this sentence somewhat confusing, but easy to clarify by reading the code that checks this. If/else and some variable assignments and straightforward things to follow. And the nature of Webpack modules means they are generally quite small, if all else fails just console.log everything.

Note this doesn't necessarily mean you must always open the box and understand the internal implementation of libs you are using. But it is reassuring to know that you can.

Lesson 2: Use Tables

For visualising data, never for layout. The quite excellent webpack analyse tool provides a tonne of useful data to improve your module situation. The crazy tree-view animations look awesome, and are animated and zoomable. But they can quickly spiral out of control into a meaningless ball of branches. There are fortunately table views for all these pages as well. While repeatedly processing a bunch of lists to try minimising file sizes isn't the most romantic task, you can sort and group a lot more easily. Conversely, the Chunks tree view stays parseable for a longer time (as you will have fewer chunks than modules). It can give a quick overview if any of your chunks are ballooning out of control, and the accompanying table used for more automated analysis.

Trees: Awesome, albeit unclear

Lesson 3: Measuring Victory

As with any code change, the best measure of success is not breaking anything. In this case our ideal outcome was the change was completely invisible to end users, assuming everything deploys and the site still works. Beyond that it was meant to simplify frontend development for all of our devs, again a success. We have simple build & watch tasks without global Node package requirements (except npm). We were able to deploy our first React component by adding a single line to process JSX. So we don't (yet) have a quantifiable metric for the success of this adventure into the world of Webpack. But as someone who formerly complained about writing build tasks, it has been fun.


In the next post I will drill down into a few specific issues encountered and how they were fixed, and some other useful features and tricks. If you have any advice or thoughts, we'd love to work with you - careers.

Top 3 lessons from CssConfAu

We recently got the opportunity to attend cssconf in Melbourne, followed by Decompress (a day of lightning talks and hacking).

I found it to be a really rewarding experience. The material presented was really relevant to my work and I got to pick the brains of some of the speakers during break time :)

Here's a list of my top 3 takeaways from the CSS Conf AU by category:

  1. CSS & Usability & Accessibility
    • 4 1/2 of theming css - Depending on your needs.
    • Everyone is responsible for "UX" - that includes devs!
    • Every hour you spend making the web faster, more accessible and easier to use, turns into days of time saved by real people
    • SVGs are what we should eat for breakfast every morning
    • Pick your colors wisely, because they might increase/decrease your accessibility
  2. Web Page performance:
    • Cram your initial view into the first 14kb
    • Eliminate any non-critical resources blocking your critical path
    • Be responsible with your responsive design
    • Perceived performance > Actual performance
  3. Animations:
    • Improves your user experience
    • Animate exclusively on opacity and transforms
    • Perceived speed > Actual speed
    • Animations help infer context from revealed information
    • Use animations instead of gifs!

After following all the speakers on Twitter, I happened upon a couple of good resources unbeknownst to me, and I’ve added them to my Easter break reading/review/code list of resources:

  1. Front End Guidelines by Benjamin de Cock
    https://github.com/bendc/frontend-guidelines

  2. CSS Guidelines by Harry Roberts
    http://cssguidelin.es/

  3. Stray articles I’ve missed from Filament Group
    http://www.filamentgroup.com/lab/
  4. A guide to SVG Animations by Sara Soueidan (+ her other articles)
    https://css-tricks.com/guide-svg-animations-smil/

Like what we do? Join us then.

ReactJS + Flux Meetup

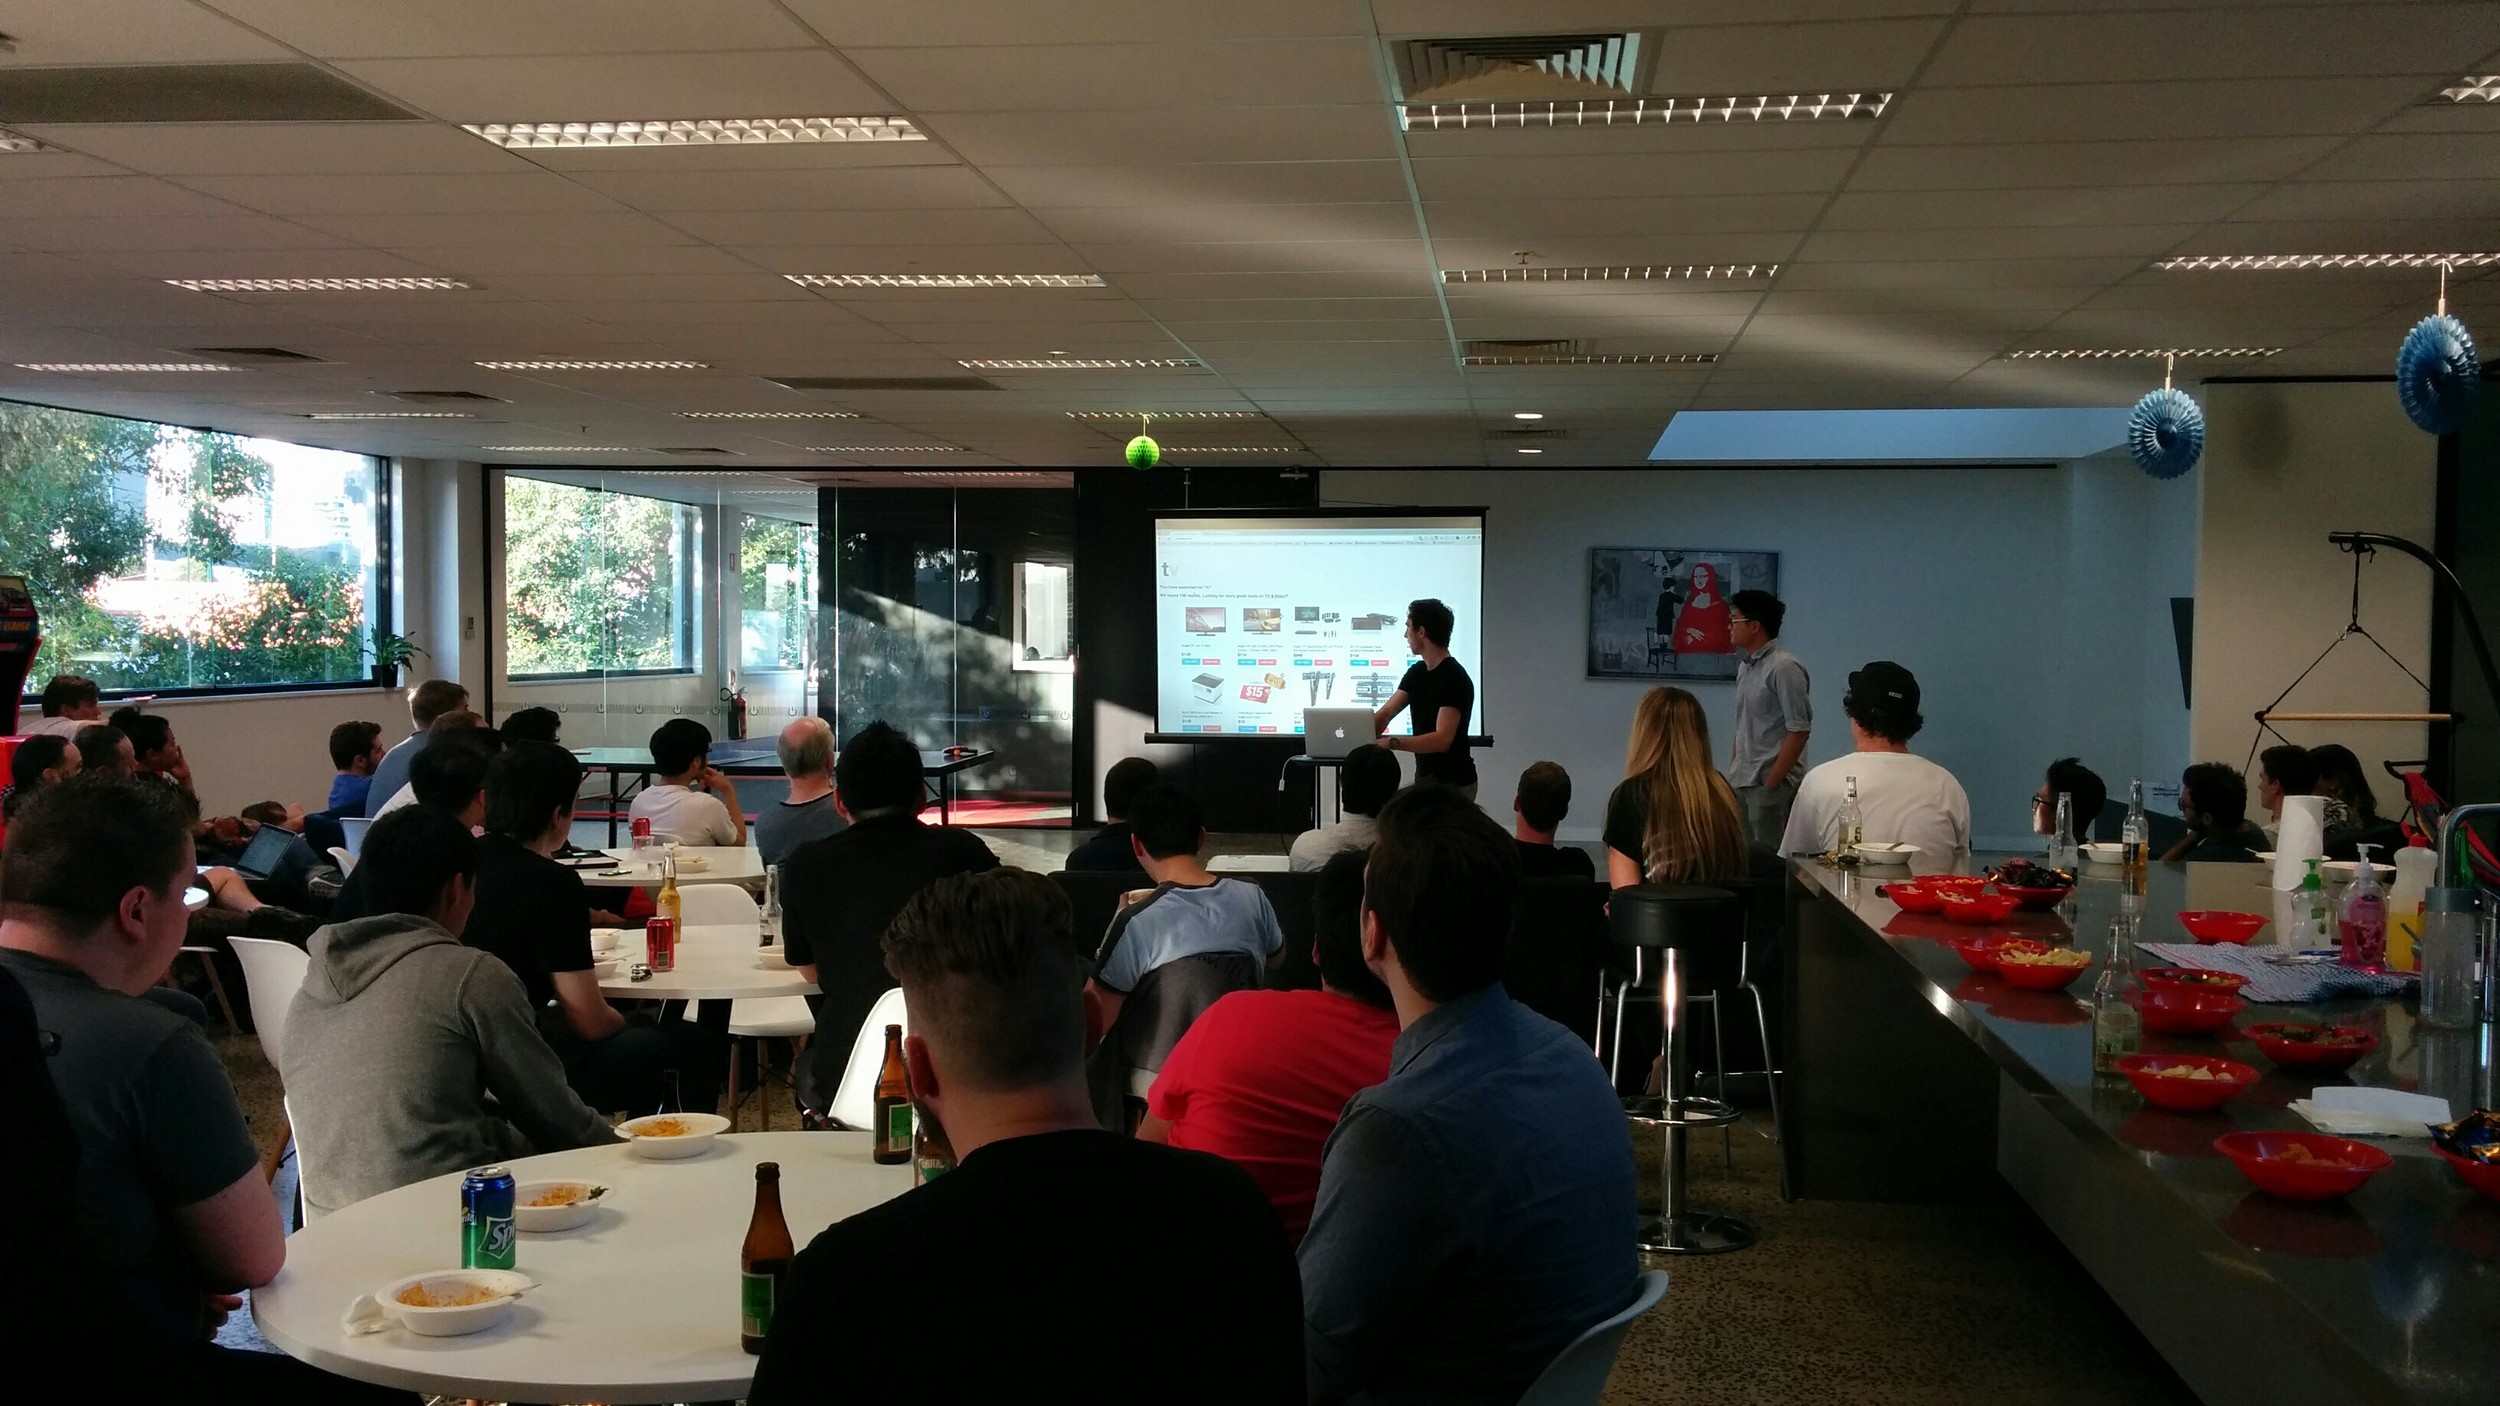
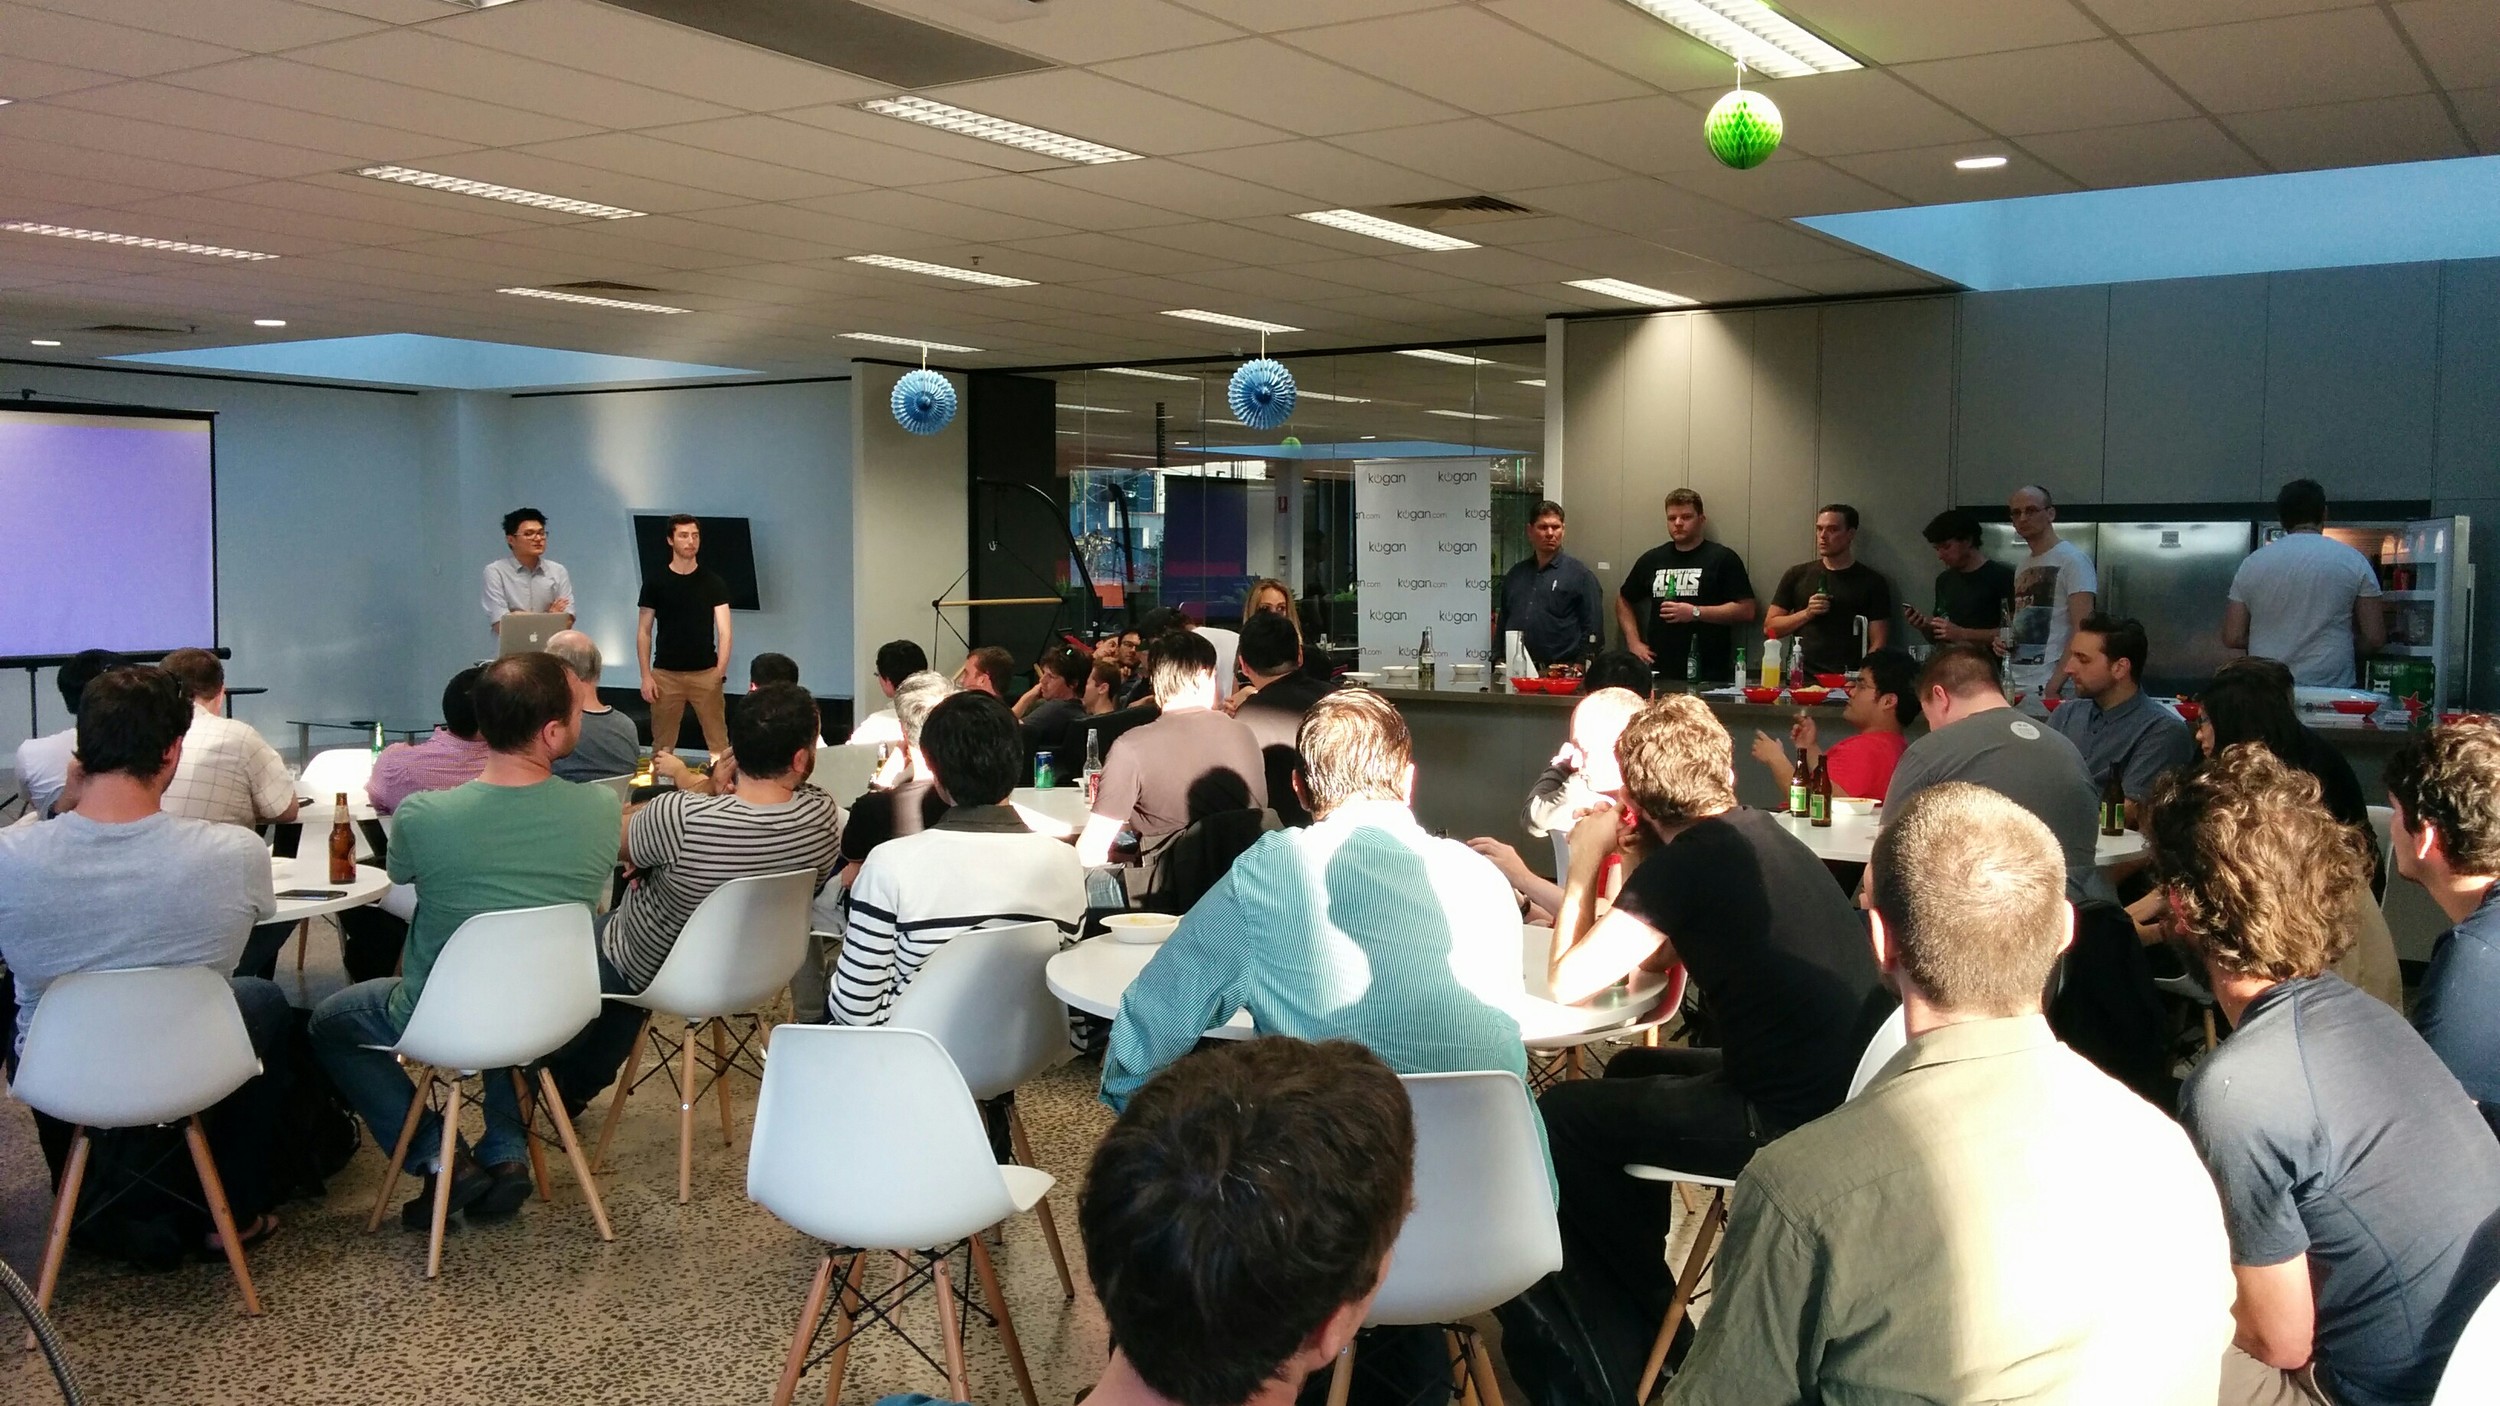
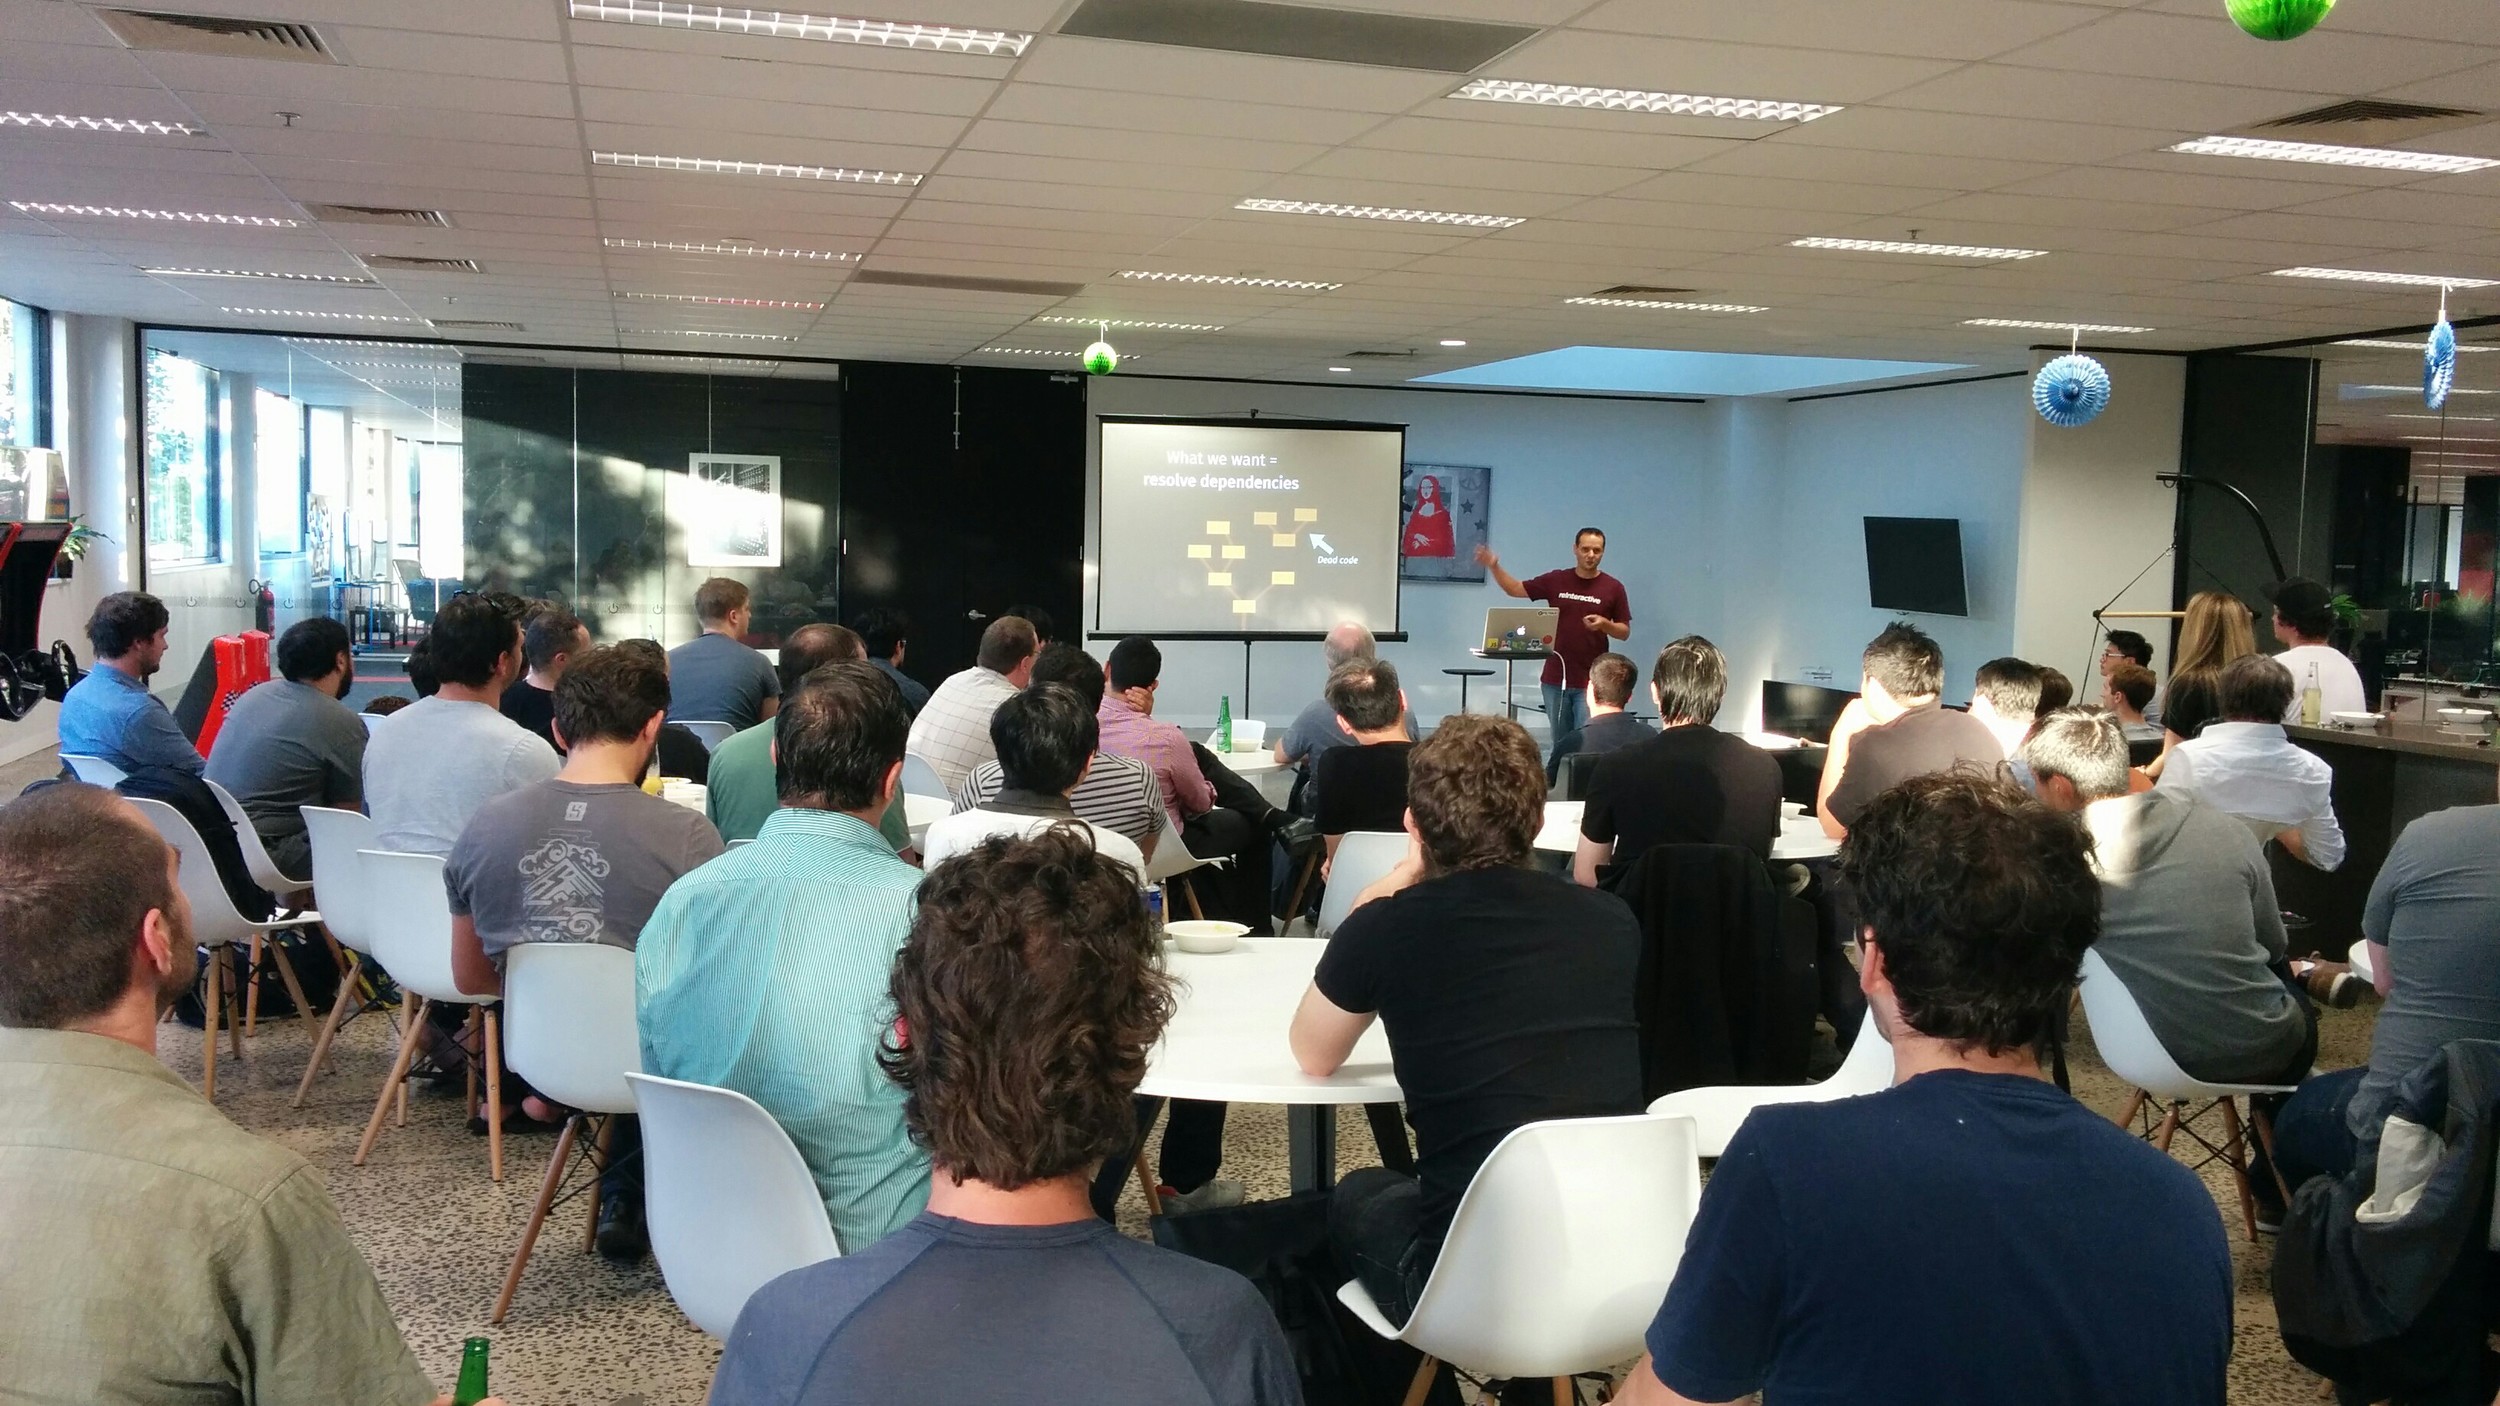
Yesterday we had the pleasure of hosting the first ReactJS Melbourne meetup and we're absolutely thrilled with the turn out!

For those who missed out, here are the slides from the Kogan.com prototype demo we presented yesterday:

We'd like to thank everyone who came, and we look forward to seeing what you create with these tools!

Here are some snaps from the event:


Like the sound of how we work? Check out our Careers Page!

A Dashing Radiator

Our information radiator or dashboard is a powerful tool for our technology team. It is used to give a quick visual representation of the current state of things, and an anchor point for the team’s most important statistics and state. We are never short of lots of data, so without this dashboard we would need to create a habit of seeking out information from various sources, like New Relic, Sentry or Google Analytics.

Our radiator also creates conversations with people outside the team about the metrics that matter the most to us.

Tool

Here at Kogan.com, we are using the framework "Dashing" by the people at Shopify to power our dashboard, and we have it deployed on Heroku.

Dashing was our tool of choice as it has a decent amount of community contributed widgets to pull data from all different sources, like Google Analytics and New Relic.

Red/Green

To make our radiator easy to read and to draw our attention when it’s needed, we opted for a red/green visual system. If a widget is green it is good, if it turns red this indicates to us something that needs attention. This also means even if you are too far away to read the details of the widgets, you can still tell the overall state.

The standard widgets don’t do this out of the box, so we modified them. Here are some of our modified widgets:

Meter Widget

You can grab the code here or install it with:

$ dashing install e81a30b2ededb434062c
Time Since Last Widget

At Kogan, we like to deploy often, and this widget lets us know how long its been since we last deployed. You can grab the code here or install it with:

$ dashing install 656f8dc218d3e11d238a

Security

A concern we had with Dashing jobs was that it encourages people to hard-code the credentials of your third party sources into the ruby code, which is not good if you want to put the code in source control for others to see. To combat this, we put the credentials in environment variables and changed the code to use Env['VARIABLE_NAME'] notation to get them in the code.

This allows you to distribute a sourceable .sh script to those who need it, while keeping the main code base behind the radiator open to anyone who might be curious to see how it works.

Before:

Trello.configure do |config|  
  config.developer_public_key = 'THE_DEVELOPER_KEY'
  config.member_token = 'THE_MEMBER_TOKEN'
end

After:

Trello.configure do |config|  
  config.developer_public_key = ENV['TRELLO_DEV_PUB_KEY']
  config.member_token = ENV['TRELLO_MEMBER_TOKEN']
end

Like the sound of how we work? Check out our Careers Page!

Testing auto_now DateTime Fields in Django

Django's auto_now_add and auto_now field arguments provide a convenient way to create a field which tracks when an object was created and last modified.

For example:

class BlogPost(models.Model):
      title   = models.CharField()
      author  = models.ForeignKey("author")
      body    = models.TextField()
      created = models.DateTimeField(auto_now_add=True)
      edited  = models.DateTimeField(auto_now=True)
      ...

Unfortunately, they can make writing unit tests which depend on these creation or modification times difficult, as there is no simple way to set these fields to a specific time for testing.

The problem

Although auto_now fields can be be changed in code, as they will update themselves afterwards with the present date and time, they can effectively never be set to another time for testing.

For example, if your Django-powered blog is set to prevent commenting on posts a month after it was last edited, you may wish to create a post object to test the block. The following example will not work:

def test_no_comment(self):
      blog_post = BlogPostFactory()

      blog_post.edited = datetime.now() - timedelta(days=60)
      # Django will replace this change with now()

      self.assertFalse(blog_post.can_comment())

Even changes to an auto_now field in a factory or using the update() function won't last; Django will still overwrite the change with the current time.

The easiest way to fix this for testing? Fake the current time.

The solution: Mock Time

The auto_now field uses django.utils.timezone.now to obtain the current time. We can mock.patch() this function to return a false time when the factory creates the object for testing:

import mock
   ...
   def test_no_comment(self):

      # make "now" 2 months ago
      testtime = datetime.now() - timedelta(days=60)

      with mock.patch('django.utils.timezone.now') as mock_now:
         mock_now.return_value = testtime

         blog_post = BlogPostFactory()

      # out of the with statement - now is now the real now
      self.assertFalse(blog_post.can_comment())

Once you need to return to the present, get out of the with statement and then you can test the long-ago-updated object in the present time.

Other Solutions

An alternative solution is to use a fixture instead; however fixtures should generally be avoided as they have to be manually updated as your models change and can lead to tests incorrectly passing or failing - see this blog post for more details.

Another alternative is to create your own version of save() for the object which can be overridden directly. However this requires more complex code than using mock.patch() - and all that extra code will end up in production, not in the test as in the example above.