Our information radiator or dashboard is a powerful tool for our technology team. It is used to give a quick visual representation of the current state of things, and an anchor point for the team’s most important statistics and state. We are never short of lots of data, so without this dashboard we would need to create a habit of seeking out information from various sources, like New Relic, Sentry or Google Analytics.
Our radiator also creates conversations with people outside the team about the metrics that matter the most to us.
Tool
Here at Kogan.com, we are using the framework "Dashing" by the people at Shopify to power our dashboard, and we have it deployed on Heroku.
Dashing was our tool of choice as it has a decent amount of community contributed widgets to pull data from all different sources, like Google Analytics and New Relic.

Red/Green
To make our radiator easy to read and to draw our attention when it’s needed, we opted for a red/green visual system. If a widget is green it is good, if it turns red this indicates to us something that needs attention. This also means even if you are too far away to read the details of the widgets, you can still tell the overall state.
The standard widgets don’t do this out of the box, so we modified them. Here are some of our modified widgets:
Meter Widget
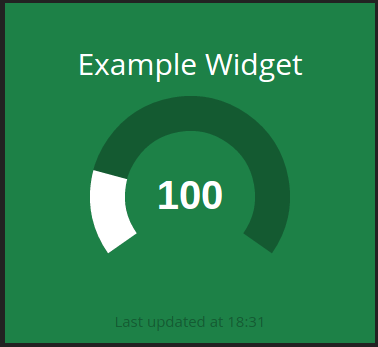
You can grab the code here or install it with:
$ dashing install e81a30b2ededb434062cTime Since Last Widget

At Kogan, we like to deploy often, and this widget lets us know how long its been since we last deployed. You can grab the code here or install it with:
$ dashing install 656f8dc218d3e11d238aSecurity
A concern we had with Dashing jobs was that it encourages people to hard-code the credentials of your third party sources into the ruby code, which is not good if you want to put the code in source control for others to see. To combat this, we put the credentials in environment variables and changed the code to use Env['VARIABLE_NAME'] notation to get them in the code.
This allows you to distribute a sourceable .sh script to those who need it, while keeping the main code base behind the radiator open to anyone who might be curious to see how it works.
Before:
Trello.configure do |config|
  config.developer_public_key = 'THE_DEVELOPER_KEY'
  config.member_token = 'THE_MEMBER_TOKEN'
end
After:
Trello.configure do |config|
  config.developer_public_key = ENV['TRELLO_DEV_PUB_KEY']
  config.member_token = ENV['TRELLO_MEMBER_TOKEN']
end
Like the sound of how we work? Check out our Careers Page!