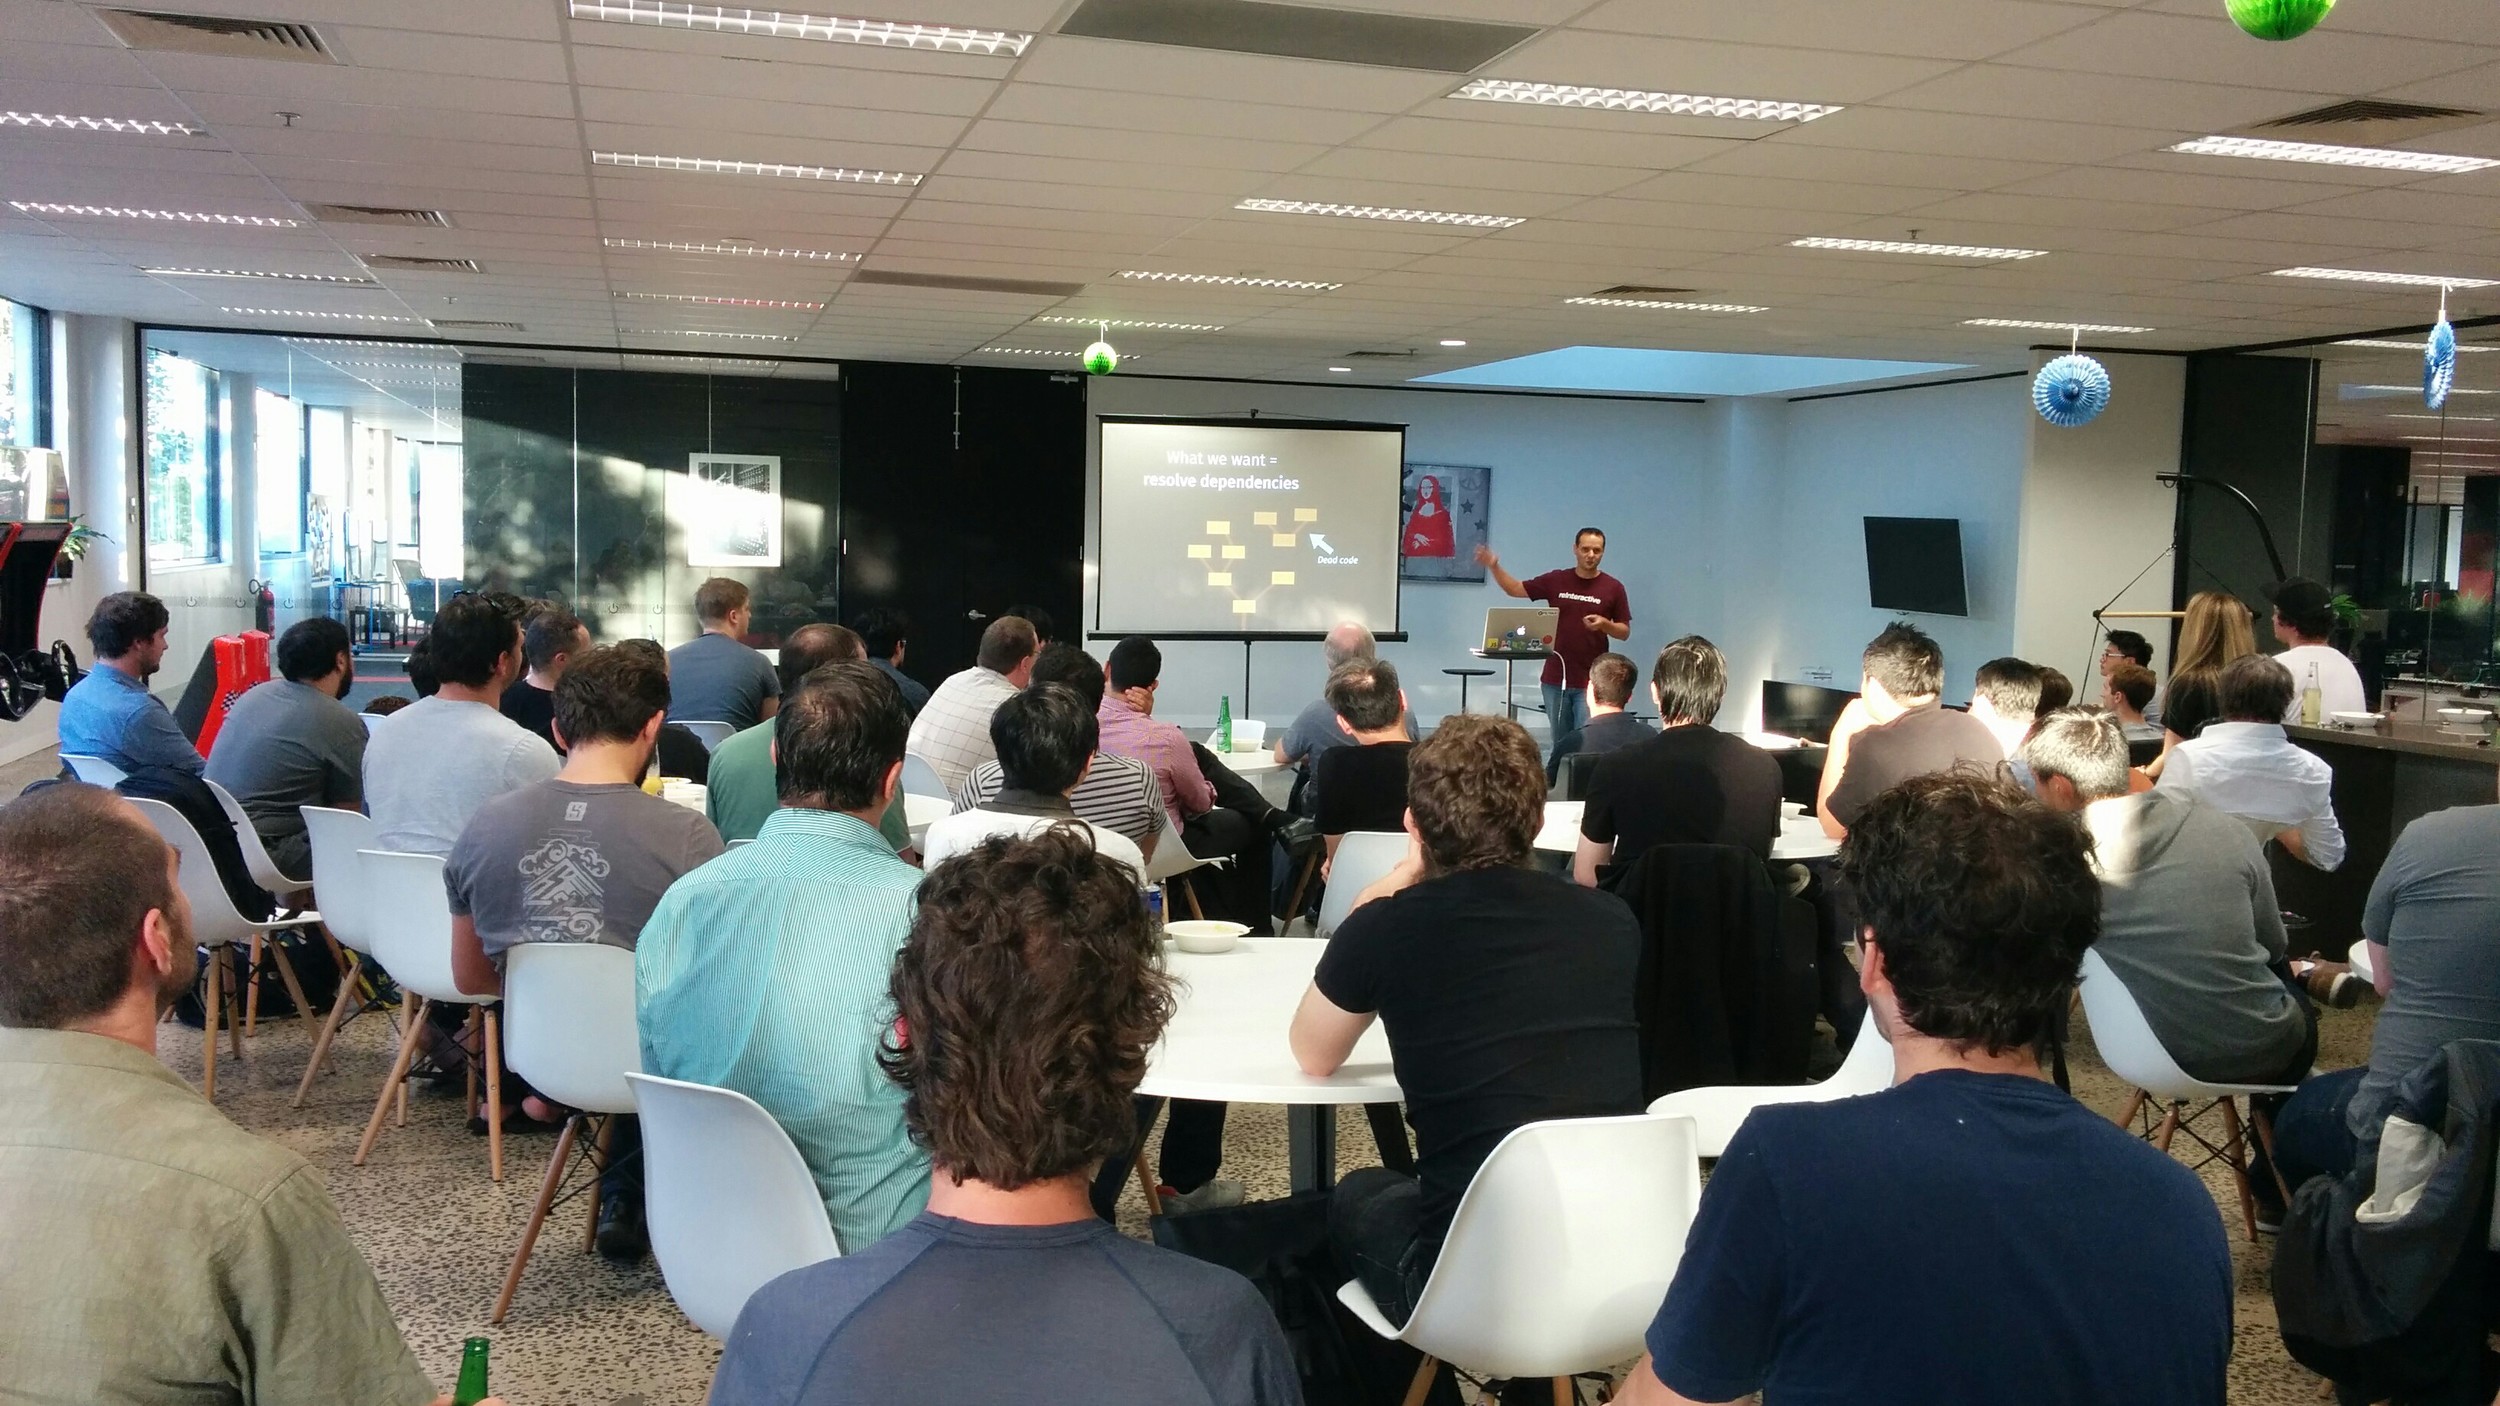
Yesterday we hosted the second React Meetup in Melbourne, what a great turn out! It was great to see such a big community for a new technology.
Here is a link to the talk Michael and I did:
Yesterday we hosted the second React Meetup in Melbourne, what a great turn out! It was great to see such a big community for a new technology.
Here is a link to the talk Michael and I did:
We recently got the opportunity to attend cssconf in Melbourne, followed by Decompress (a day of lightning talks and hacking).
I found it to be a really rewarding experience. The material presented was really relevant to my work and I got to pick the brains of some of the speakers during break time :)
Here's a list of my top 3 takeaways from the CSS Conf AU by category:
After following all the speakers on Twitter, I happened upon a couple of good resources unbeknownst to me, and I’ve added them to my Easter break reading/review/code list of resources:
Front End Guidelines by Benjamin de Cock
https://github.com/bendc/frontend-guidelines
CSS Guidelines by Harry Roberts
http://cssguidelin.es/
Like what we do? Join us then.
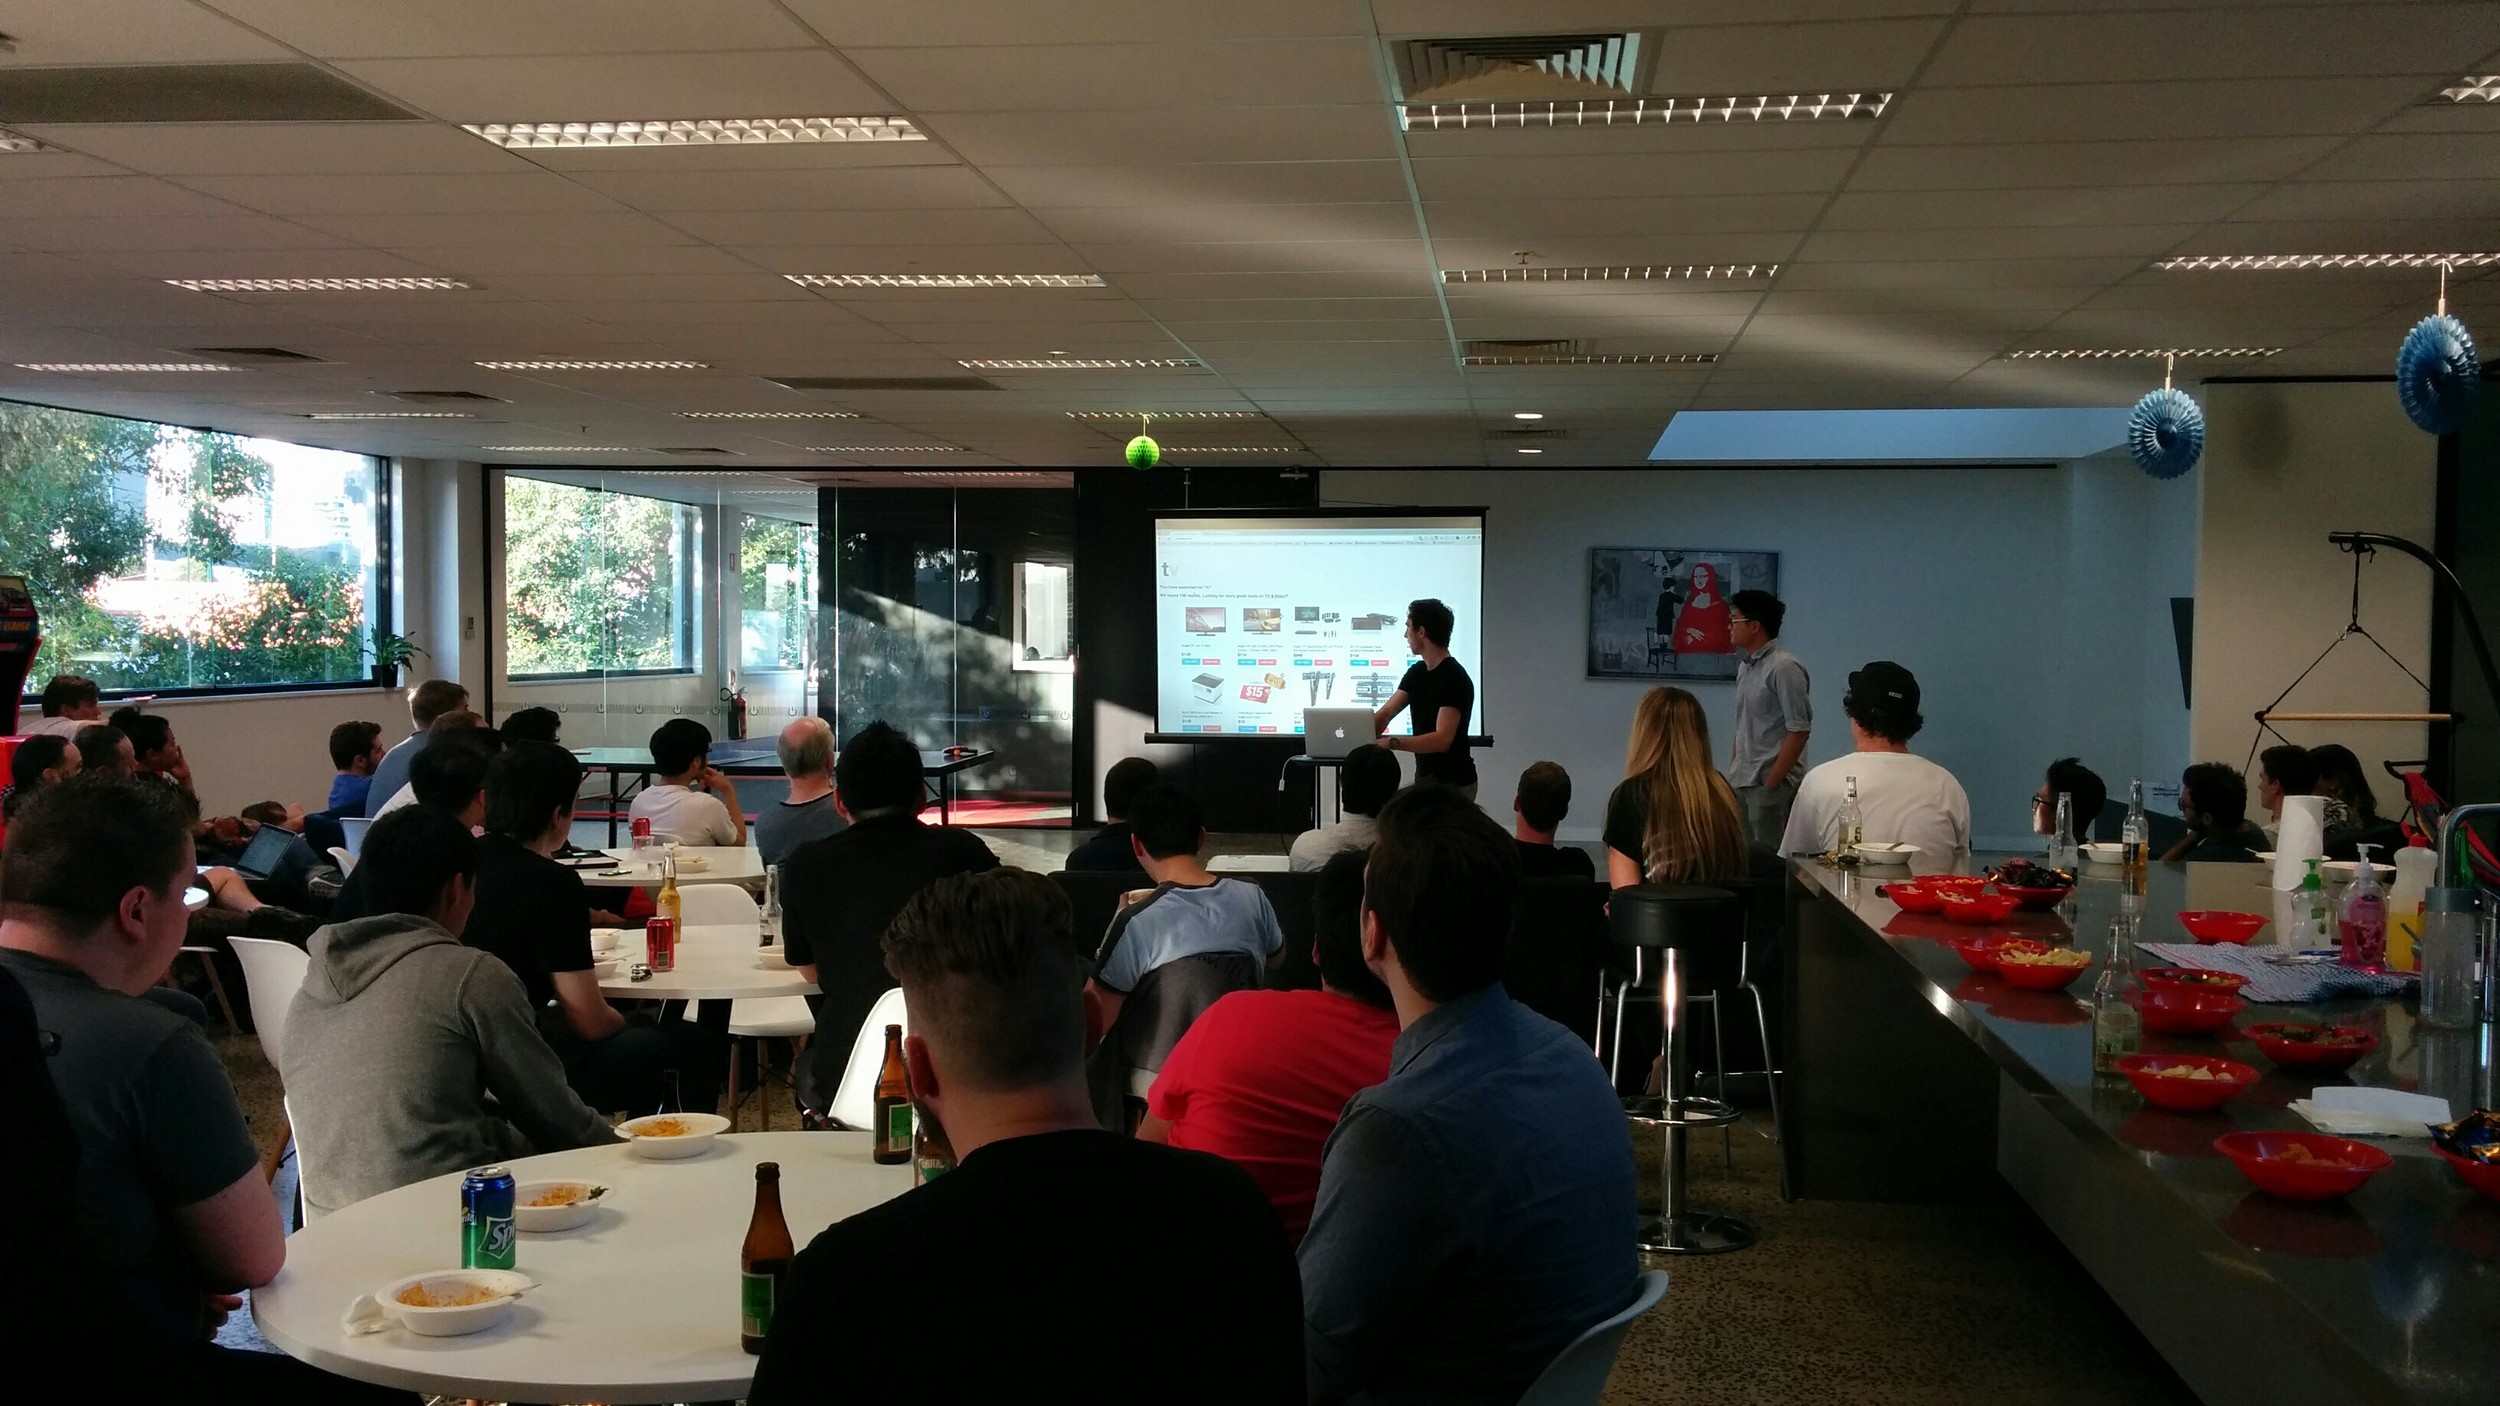
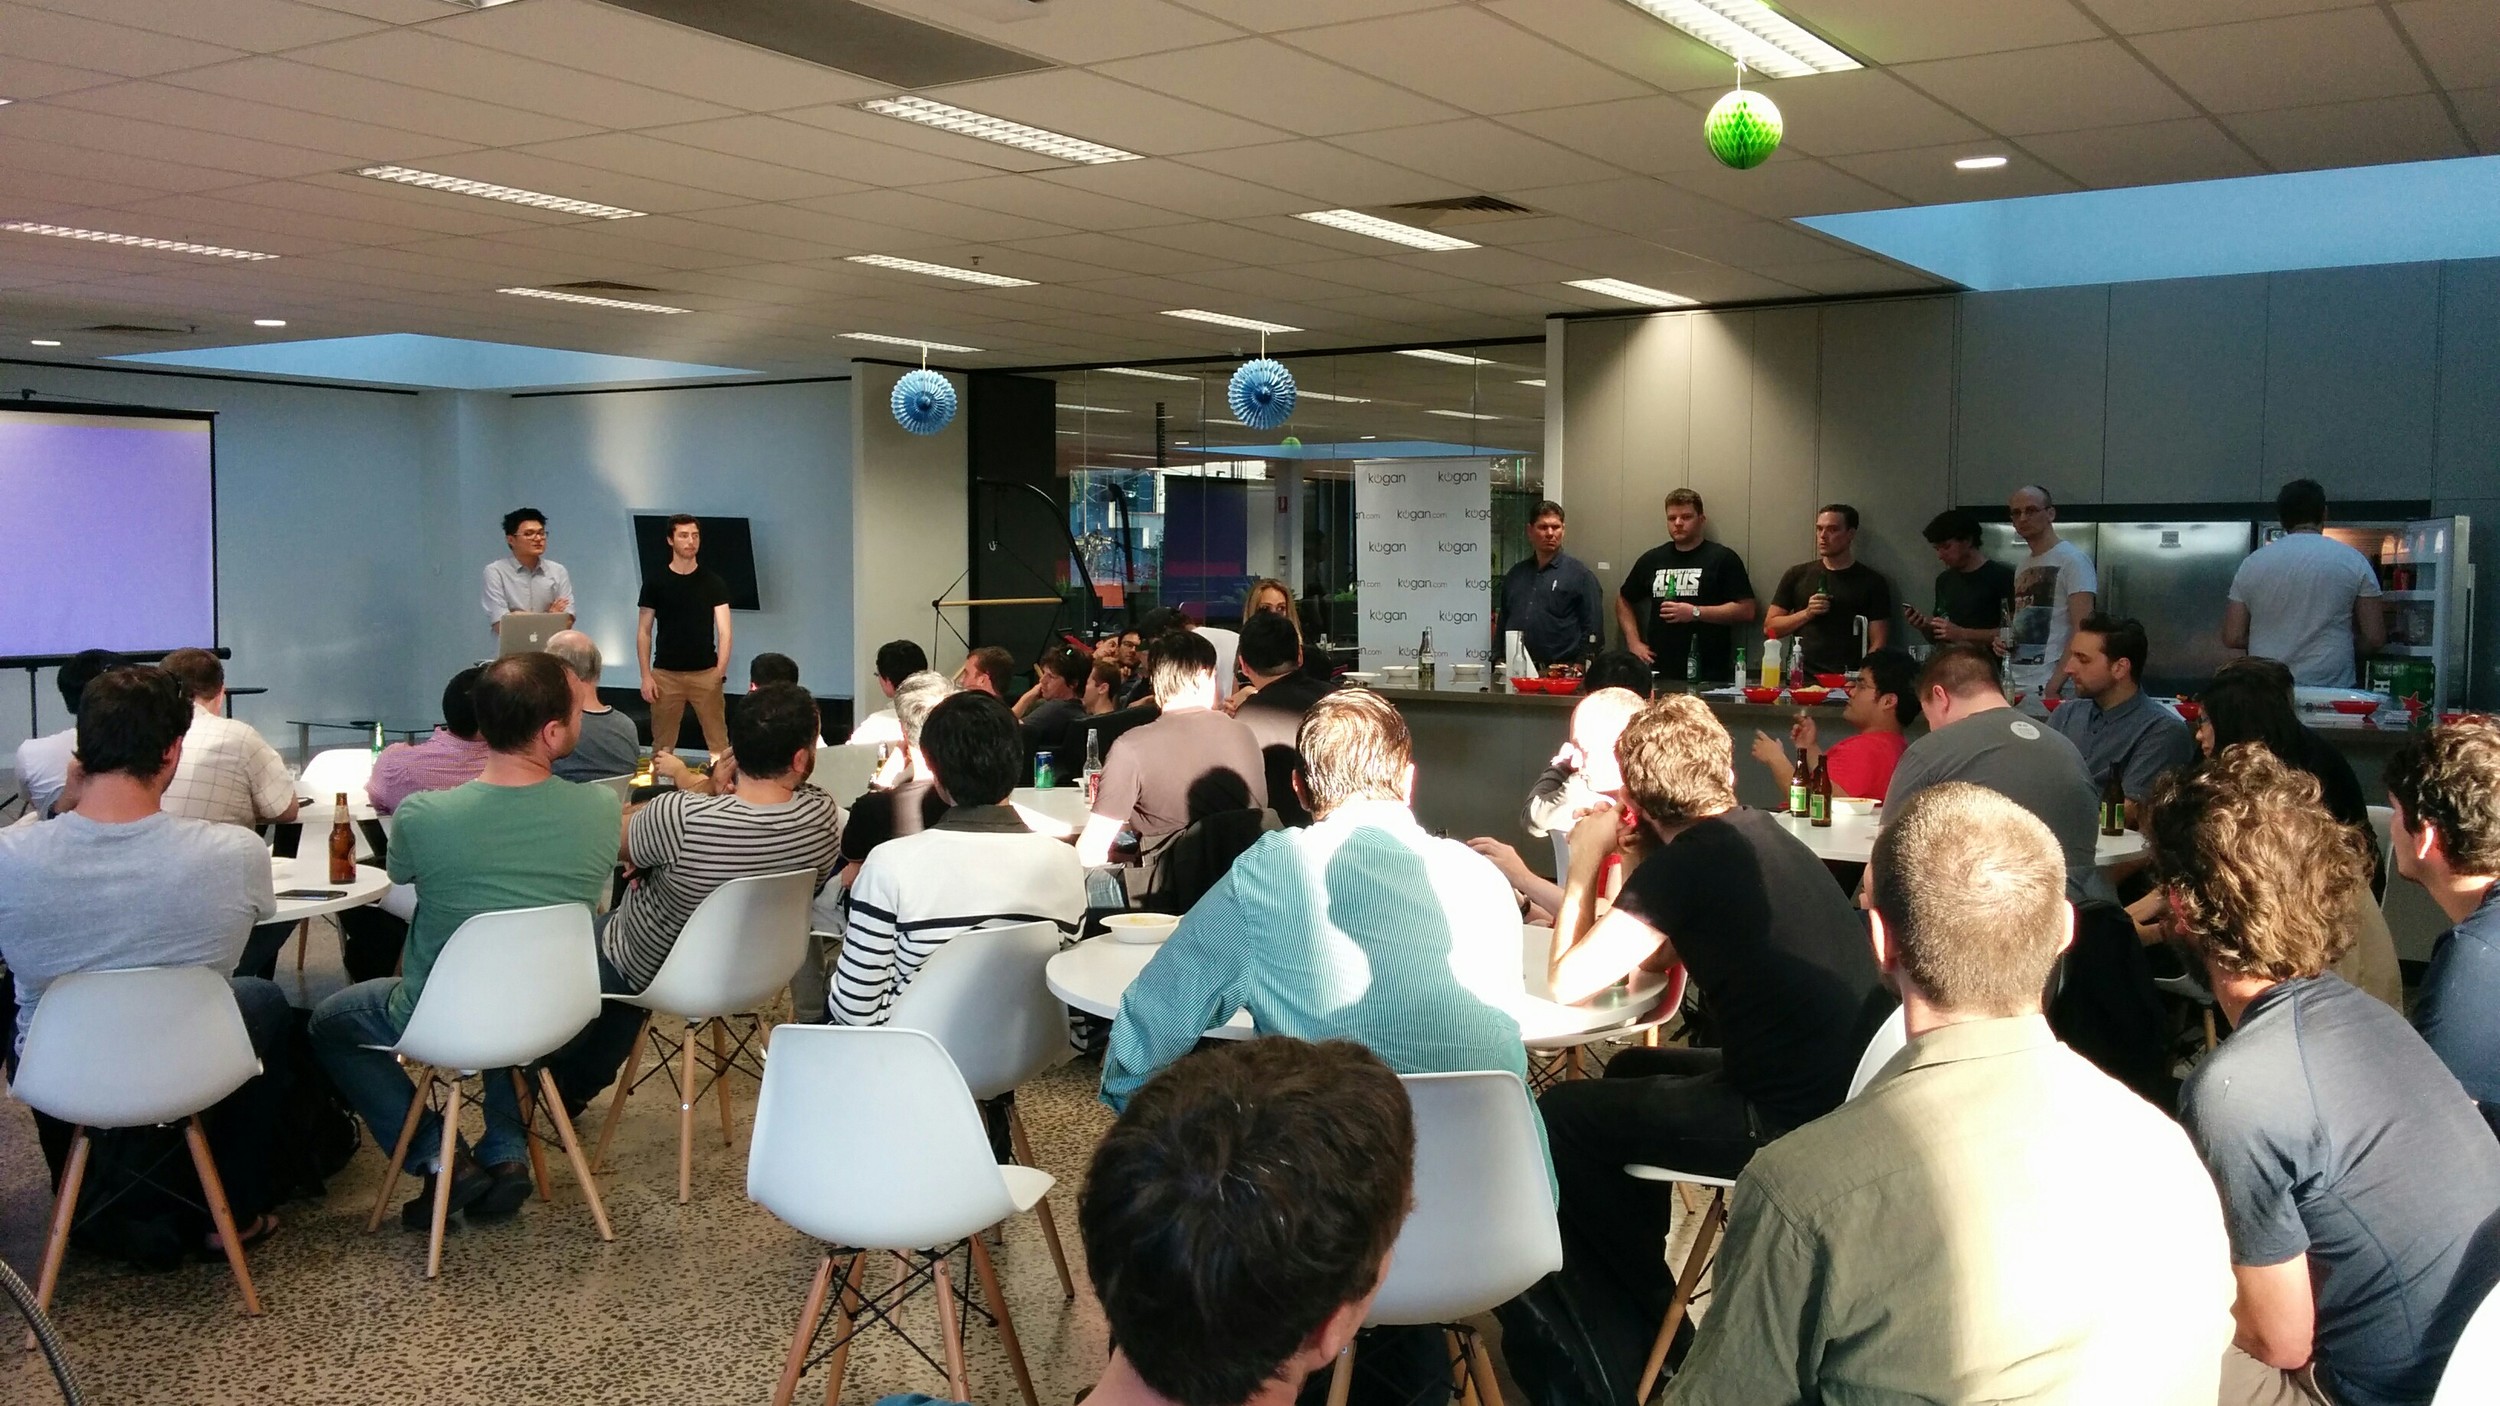
Yesterday we had the pleasure of hosting the first ReactJS Melbourne meetup and we're absolutely thrilled with the turn out!
For those who missed out, here are the slides from the Kogan.com prototype demo we presented yesterday:
We'd like to thank everyone who came, and we look forward to seeing what you create with these tools!
Here are some snaps from the event:
Like the sound of how we work? Check out our Careers Page!
Our information radiator or dashboard is a powerful tool for our technology team. It is used to give a quick visual representation of the current state of things, and an anchor point for the team’s most important statistics and state. We are never short of lots of data, so without this dashboard we would need to create a habit of seeking out information from various sources, like New Relic, Sentry or Google Analytics.
Our radiator also creates conversations with people outside the team about the metrics that matter the most to us.
Here at Kogan.com, we are using the framework "Dashing" by the people at Shopify to power our dashboard, and we have it deployed on Heroku.
Dashing was our tool of choice as it has a decent amount of community contributed widgets to pull data from all different sources, like Google Analytics and New Relic.

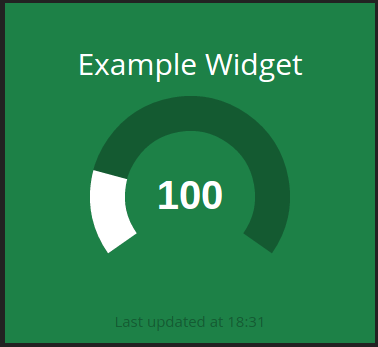
To make our radiator easy to read and to draw our attention when it’s needed, we opted for a red/green visual system. If a widget is green it is good, if it turns red this indicates to us something that needs attention. This also means even if you are too far away to read the details of the widgets, you can still tell the overall state.
The standard widgets don’t do this out of the box, so we modified them. Here are some of our modified widgets:
You can grab the code here or install it with:
$ dashing install e81a30b2ededb434062c
At Kogan, we like to deploy often, and this widget lets us know how long its been since we last deployed. You can grab the code here or install it with:
$ dashing install 656f8dc218d3e11d238aA concern we had with Dashing jobs was that it encourages people to hard-code the credentials of your third party sources into the ruby code, which is not good if you want to put the code in source control for others to see. To combat this, we put the credentials in environment variables and changed the code to use Env['VARIABLE_NAME'] notation to get them in the code.
This allows you to distribute a sourceable .sh script to those who need it, while keeping the main code base behind the radiator open to anyone who might be curious to see how it works.
Before:
Trello.configure do |config|
  config.developer_public_key = 'THE_DEVELOPER_KEY'
  config.member_token = 'THE_MEMBER_TOKEN'
end
After:
Trello.configure do |config|
  config.developer_public_key = ENV['TRELLO_DEV_PUB_KEY']
  config.member_token = ENV['TRELLO_MEMBER_TOKEN']
end
Like the sound of how we work? Check out our Careers Page!
Django's auto_now_add and auto_now field arguments provide a convenient way to create a field which tracks when an object was created and last modified.
For example:
class BlogPost(models.Model):
      title   = models.CharField()
      author  = models.ForeignKey("author")
      body    = models.TextField()
      created = models.DateTimeField(auto_now_add=True)
      edited  = models.DateTimeField(auto_now=True)
      ...
Unfortunately, they can make writing unit tests which depend on these creation or modification times difficult, as there is no simple way to set these fields to a specific time for testing.
Although auto_now fields can be be changed in code, as they will update themselves afterwards with the present date and time, they can effectively never be set to another time for testing.
For example, if your Django-powered blog is set to prevent commenting on posts a month after it was last edited, you may wish to create a post object to test the block. The following example will not work:
def test_no_comment(self):
      blog_post = BlogPostFactory()

      blog_post.edited = datetime.now() - timedelta(days=60)
      # Django will replace this change with now()

      self.assertFalse(blog_post.can_comment())
Even changes to an auto_now field in a factory or using the update() function won't last; Django will still overwrite the change with the current time.
The easiest way to fix this for testing? Fake the current time.
The auto_now field uses django.utils.timezone.now to obtain the current time. We can mock.patch() this function to return a false time when the factory creates the object for testing:
import mock
   ...
   def test_no_comment(self):

      # make "now" 2 months ago
      testtime = datetime.now() - timedelta(days=60)

      with mock.patch('django.utils.timezone.now') as mock_now:
         mock_now.return_value = testtime

         blog_post = BlogPostFactory()

      # out of the with statement - now is now the real now
      self.assertFalse(blog_post.can_comment())
Once you need to return to the present, get out of the with statement and then you can test the long-ago-updated object in the present time.
An alternative solution is to use a fixture instead; however fixtures should generally be avoided as they have to be manually updated as your models change and can lead to tests incorrectly passing or failing - see this blog post for more details.
Another alternative is to create your own version of save() for the object which can be overridden directly. However this requires more complex code than using mock.patch() - and all that extra code will end up in production, not in the test as in the example above.
Let’s face it. Front end testing, or in fact, any sort of testing that involves you (the developer/tester) manually going through each scenario can be a gruelling process. This post isn’t about the importance of front end testing, because it's 2015.
I’m going to write about testing the UI and simulating user actions in the browser using PhantomJS, CasperJS, Mocha and Chai.
Before I proceed any further, here is a brief introduction to what each framework/library does:
Mocha is a feature-rich JavaScript test framework running on node.js and the browser, making asynchronous testing simple and fun. Mocha tests run serially, allowing for flexible and accurate reporting, while mapping uncaught exceptions to the correct test cases.
Chai is a BDD / TDD assertion library for node and the browser that can be delightfully paired with any javascript testing framework.
PhantomJS is a headless WebKit scriptable with a JavaScript API. It has fast and native support for various web standards: DOM handling, CSS selector, JSON, Canvas, and SVG.
CasperJS is an open source navigation scripting and testing utility written in Javascript for the PhantomJS WebKit headless browser and SlimerJS (Gecko). It eases the process of defining a full navigation scenario and provides useful high-level functions, methods and syntactic sugar.
CasperJS provides us with some really neat functions to work with. Particularly:
casper.start() : Configures and starts Caspercasper.waitFor(): Waits until a function returns true to process any next step.casper.waitUntilVisible() : Waits until an element matching the provided selector expression is visible in the remote DOM to process a next step. Uses waitFor(). I find this particularly useful especially when we are interacting with DOM elements that have animation.casper.capture(): Proxy method for PhantomJS’ WebPage#render. Adds a clipRect parameter for automatically setting page clipRect settings and reverts it back once done.There are many more useful functions here.
CasperJS provides built in testing functionality as well, but we opted for the Mocha testing framework and Chai assertion library because we liked it better.
First get Mocha and Chai installed (if you opt to use Mocha and Chai instead of just using casper’s built in testing utility):
npm install mochanpm install chaiThen install phantomJS: - npm install -g phantomjs
There are a couple of other ways to install phantomjs shown here.
Get casperjs running: - npm install -g casperjs
Finally get mocha-casperjs and casper-chai installed if you want to use Mocha and Chai with casperjs.
npm install -g mocha-casperjs
npm install -g casper-chai
Note from the future: I recommend installing the
npm
packages locally and specifying the test commands within
package.json
instead.
Alternatively, if you’re happy with just phantomjs and casperjs, using the Chrome extension tool here can help you get off to a good start. Resurrectio allows you to record a sequence of browser actions and produces the corresponding CasperJS script.
Ahem. Let’s really get started now.
Let’s write some code that does all of the following in sequence:
 describe('Home page', function() {
 	before(function() {
		casper.start('http://localhost:8000');
	});
	it('should have an element in DOM', function(){
		casper.waitForSelector('#correctElement', function() {
			'#correctElement'.should.be.inDOM;
		});
	});
	it('should bring you to another page on click', function() {
		casper.thenClick('#destroyEverything', function(){
			this.echo('Clicked on Destory everything');
		});
		casper.waitFor(function check() {
			return this.evaluate(function() {
				return /urlthatwewant/.test(document.location.pathname);
			});
		}, function then() {
			// Succeeded
			this.echo('->Succeeded in loading the another page');
			this.capture(anotherPage.png');
		}, function timeout() {
			this.echo('Failed to load page').exit();
		});
	});
});
Running the above is simple.
mocha-casperjs <filename>.js
Here are some things we learnt while setting up frontend tests for Kogan.com.
Many of the functions can be reused. Fortunately, PhantomJS allows you to import/require modules using the CommonJS syntax.
A very reusable module would be the login module (simplified version) (as shown below)
module.exports = function(email, password) {
  describe('Logging in', function() {
    it('Filling in form fields and clicking should log the user in', function() {
    	casper.then(function(){
    		this.fillSelectors('form.form-email', {
    			'input#email' : email,
    			'input#password' : password
    		});

  			this.echo('Filling in details');
  		});

      casper.thenClick('#loginButton', function() {
        this.capture('filledIn.png');
        this.echo('->Clicked on Login');
      });

  	});

  });
};
Having a config file with all your valid/invalid data can also help with making things DRY-er.
      /**
      config file
      **/
      module.exports = {
      URL: {
      dev: ‘http://localhost:8000’
      }
      };
Putting them all together, we could make the code a lot cleaner, and easier to understand. Pretty sweet huh?
var config = require('./config');
var login = require('./functions/login);
var doSomething1 = require('./functions/doSomething1);
var doSomething2 = require('./functions/doSomething2);


describe('Yet Another Page', function() {
  before(function() {
    casper.start(config.URL.dev);
  });

  login();

  doSomething1();

  doSomething2(1);

});
Like the sound of how we work? Check out our Careers Page!
We're happy to announce that Kogan.com has donated $1,000.00 to the Django Fellowship project. It's no secret the Kogan.com tech team are fans of Django (we've previously donated $10,000). .Read on to find out why we use Django...